Enhance your online presence with our dedicated team to bring your vision to the forefront of the digital landscape.

Introduction to Livewire - A Must-Have for Prototyping in Laravel

this is aboutLivewire 3, Laravel 10
reading time10m
published date28 Dec 2023
Michael VilleneuveMichael VilleneuvePresident

Introduction

At Laradev, we believe that prototyping is an essential practice in our development process. It allows us to quickly test our ideas and get a concrete insight into the behavior of the features we want to implement for our clients.

With Livewire, we have the opportunity to develop without the Javascript layer, which significantly speeds up our development process and allows us to be more agile in our approaches.

Scope of Work

Before starting any project - no matter how small - it's important to define its scope. To do this, we want to draft our acceptability scenarios.

Scenario 1 - Load the component on our page
Scenario 2 - Display a maximum of 50 products
Scenario 3 - Filter products by the name field

Step 1 - Installing a Laravel + Livewire Project

Let's start a new standard Laravel project.

Let's create our model with a migration, a factory, and a seeder:

Let's configure our 4 files:


Then, let's generate our 1000 products!

Finally, since we're going to create our tests, let's configure our database to use SQLite in memory:

Step 2 - Livewire Prototype

Let's start with our basic prototype in Livewire. To begin, let's install the library:

Installation

Then, let's add a basic page:

Step 3 - Writing Livewire Tests

Let's start with a good practice... create our Livewire component and write our tests before coding!

Livewire offers us test functions that allow us to easily interact with the state of our component.

And the result:

Since we generated the component with the test, our first test is already functional. Let's adjust our component for the next 3 tests.


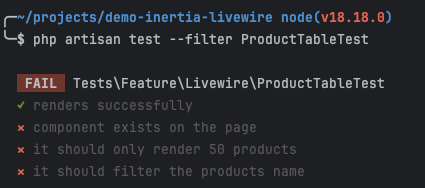
Step 4 - Implementing the 3 Scenarios

Scenario 1 - Adding our Component to the Page

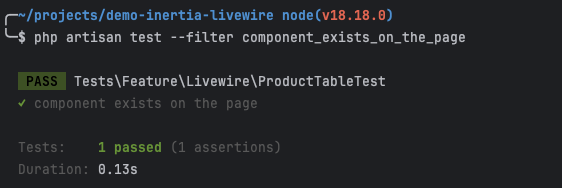
To add a Livewire component, simply include a tag <livewire:component-name></livewire:component-name>

This should validate our first test:


À l’aide de Tailwind UI, nous allons utiliser un composant pour facilement générer un tableau.


Et notre test fonctionne !

Et voilà ! un autre crochet vert, il nous reste plus qu’un scénario à résoudre.


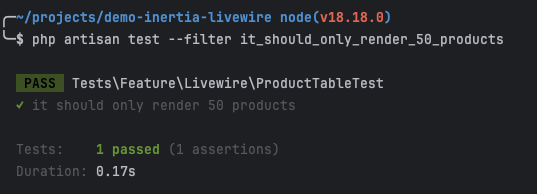
Scénario 2 - Afficher un maximum de 50 produits

Pour notre composant, nous voulons afficher un maximum de 50 produits.

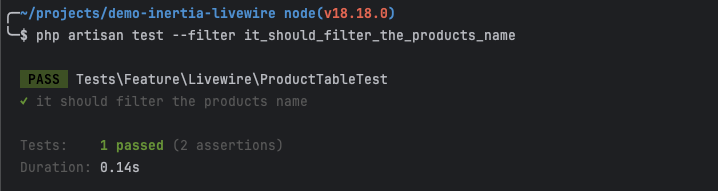
Scénario 3 - Filtrer les produits

Let's add a field that will be linked between our client interface and our server using the wire:model.live attribute.

We can capture the update event using the updated function.

Let's validate that everything is working...

In conclusion

Everything works! We didn't need to write a single line of JavaScript, and we have a functional prototype that connects our server and the browser in just a few minutes.


Resource : https://github.com/laradev/livewire-prototype

Discover
Our Blog

You're looking for a Livewire Expert ?

Let's Work Together